Getting Started
Requirements
- A working installation of MODX version ^2.6
- Command line access, local or SSH into your server. Terminal for macOS, Git BASH for Windows
- Install Composer, using MODX Cloud? Install Composer on MODX Cloud
- PHP 7
Basic installation steps
If you have not installed MODX and composer do so now before proceeding.
The basic step follows the directory structure of a basic install of MODX. All examples will be based on running MODX on a MODXCloud instance.
- Open up your command line tool into the MODX core directory like so:
cd /www/core/ - Create an empty .env file, this can be used for configurations later on
touch .env - Run the composer command to install
composer require lci/orchestrator - Now run the installation command
php vendor/bin/orchestrator orchestrator:install
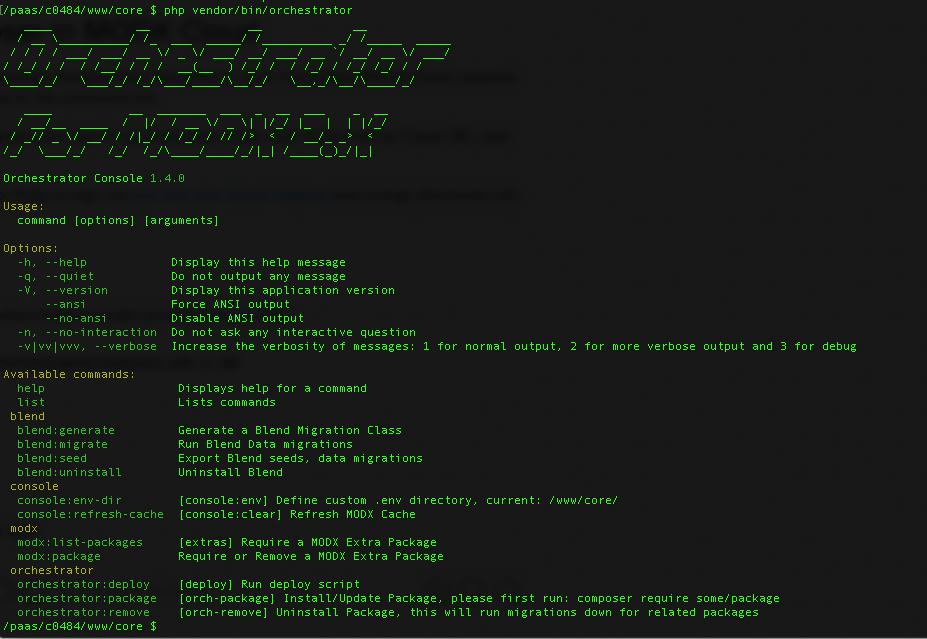
That’s it! Orchestrator is now installed, to verify run the command:
php vendor/bin/orchestrator
And you should see something like this: 
What does Orchestrator install into MODX?
See Install for complete details
- Blend package
- MODX namespace
orchestrator
Used to tie all system settings to the Orchestrator project. - Media source
orchestrator
The media source can be used for all extended projects allowing to create all elements as static. If the elements have been set to static for future updates those elements do not need to be updated via a Blend Migration. But if they are not static then each change to an element would need to be in noted the related update Blend Migration. - Plugin
requireComposerAutoloaderthis will be loaded on the MODXOnInitCultureevent. Now all Snippets/Plugins can use the composer autoloader. - System setting
orchestrator.vendor_path
Used in the requireComposerAutoloader plugin to map to the correct autoloader file